December 15, 2016
by Ivette Ebaen
December 15, 2016
by Ivette Ebaen
Once a pastry chef always a pastry eater. I can’t teach you how to create a five-tiered chocolate Opera, but at least I can introduce you to some of my favorite Christmas treats.
So to kick-off our first Christmas in Ireland, and before you settle into constructing a portfolio for your Xmas deck, here’s how you conjure a batch of scrumptious nutty-chocolate brownies:
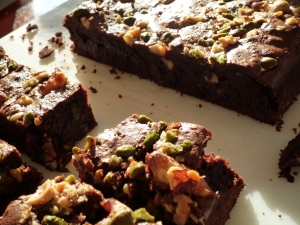
Homemade Brownies
First read the recipe & instructions to make sure you have the ingredients and equipment:
250 g (grams) dark chocolate 70% at least cacao
200 g sweet butter (save a spoonful to butter baking tray)
175 g granulated sugar
163 g eggs (whole)
113 g Type 55 Flour (sift)
1g sea salt
½ teaspoon pure vanilla extract
¼ teaspoon vanilla aroma
110 g fresh cream
160 g of assorted nuts: crush cashews, almonds, hazel…set aside a handful for topping
Preheat oven 165°c
Holy day albums make wonderful keepsakes and this accordion-style portfolio is easy to make. 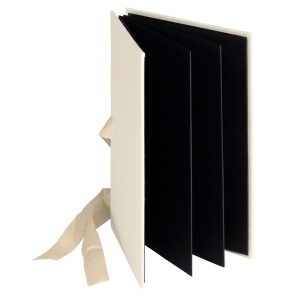
Think of yourself as a Father Christmas Elf or a Mother Christmas Elfina, conjuring a Xmas treat for the rest of the world to savor. To continue with our series, here in Part 2 we’ll make fold-out pages, create sleeves from our Pre-Raphaelite designs, attach ribbons, make covers, and collage artwork on the front.
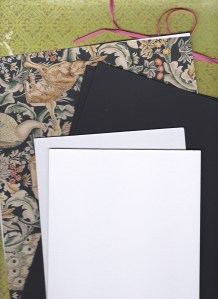
portfolio art supplies
Materials list for an Accordion-style portfolio :
Your stack of Pre-Raphaelite Daughters of Mother Christmas and Sons of Father Christmas, SoulCollage® cards. I have twenty.
Glue stick
Transparent tape
Ruler
Pencil
Scissors
2 5X8 inch mat boards for front and back covers (add a 1/4 inch to length & width if Xmas cards are larger)
2 sheets of festive paper (larger than or cut to the exact size of mat boards)
3 1/2 sheets of A4 construction paper for album pages (mine are black)
2 strips of ribbon (mine is watermelon pink)
Print extra Pre-Raphaelite images on heavier paper to use as inserts or sleeves for cards
To create the accordion effect, fold each sheet of A4 black paper in half, open the sheets, lay one alongside the other and tape together. Fold and tape together as many pages as you need for your cards.
album pages
I have twenty cards, two cards to a page, so this is why I need 3 1/2 sheets of A4 paper. I need to make ten sleeves to hold my entire deck of SoulCollage® cards.

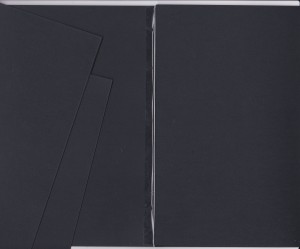
sleeve and sample cut-outs
To create a sleeve choose a patterned motif. Cut one side of your design at a right angle, the other side follow the outline of the design as you cut (see photo). On the backside of your sleeve add glue along the edge of the right angle, towards the corner and across the bottom (not along the outline side, this remains open!). Flip the sleeve over, align it to fit the page and press to adhere.
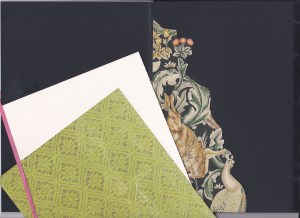
Before gluing the 1st and last pages to each of the mat boards, cover the front of both cards with your festive paper. Mine is a yuletide-green with a lovely white floral design on one side. Cover the entire front of the board with glue and if the paper extends, fold, and let it overlap onto the backside. The backside of your mat boards is where you glue the 1st page, and the last page of your accordion fold-out. Don’t forget to glue an inch of ribbon between the backside and the 1st page of your fold-out (do the same between the last page and the back cover). The ribbons tie the album together.
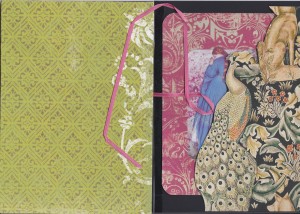
Front cover. Ribbon. Sleeve with card.
Before inserting all your cards in your portfolio, collage an image on the front cover. Be creative. Use you imagination.

Daughters of Mother Xmas and Sons of Father Xmas Portfolio
I collaged an angel and Christmas ornaments, stamped letters, tucked my cards inside, and tied the ribbons to complete my portfolio.
Click Here To Review All I Want For Xmas Part I